The Homeowner’s Guide to Skylights: Protecting Your Roof’s Structure

Skylights are an increasingly popular feature, celebrated for their ability to bathe interior spaces in natural light and enhance a home’s aesthetic appeal. While the benefits are clear, a successful skylight installation goes far beyond simply cutting a hole and inserting a window.
A skylight is a complete interruption of your roof’s structural and waterproofing system. Understanding the risks and demanding proper installation techniques are critical to ensuring your new window to the sky doesn’t become a chronic source of leaks and costly structural damage. This guide outlines what every homeowner needs to know.
Understanding Your Roof as an Integrated System
Before considering a skylight, it’s important to recognize that your roof is not just a surface; it’s a multi-layered structure engineered to provide support and protection.
- The Frame (Rafters or Trusses): This is the skeleton of your roof, composed of beams spaced to support the weight of the roofing materials, snow, and to resist wind forces.
- The Deck (Sheathing): This is the layer of plywood or OSB board that covers the frame. It creates a solid plane, ties the rafters together, and serves as the nail bed for shingles.
- The Weatherproofing Layers: This includes the underlayment (a water-resistant barrier) and the final roofing material (shingles, tile, metal) that shed water.
Installing a skylight involves cutting through every one of these critical layers.
Structural Risks of an Improper Skylight Installation
When a skylight installation is mishandled, it can compromise the very bones of your home. The most common failures are not just cosmetic; they are structural.
- Compromised Load Paths: To create an opening for a skylight, at least one rafter must be cut. This severs a key structural support. Without proper reinforcement, the load that rafter was carrying is distributed to the surrounding decking and adjacent rafters, which were not designed for the extra stress. Over time, this can cause the roof to sag around the skylight, creating a depression that collects water and debris, leading to premature failure. Solution: The opening must be framed with double headers, which are sturdy beams that transfer the load from the cut rafter to the neighboring full-length rafters, maintaining the roof’s structural integrity.
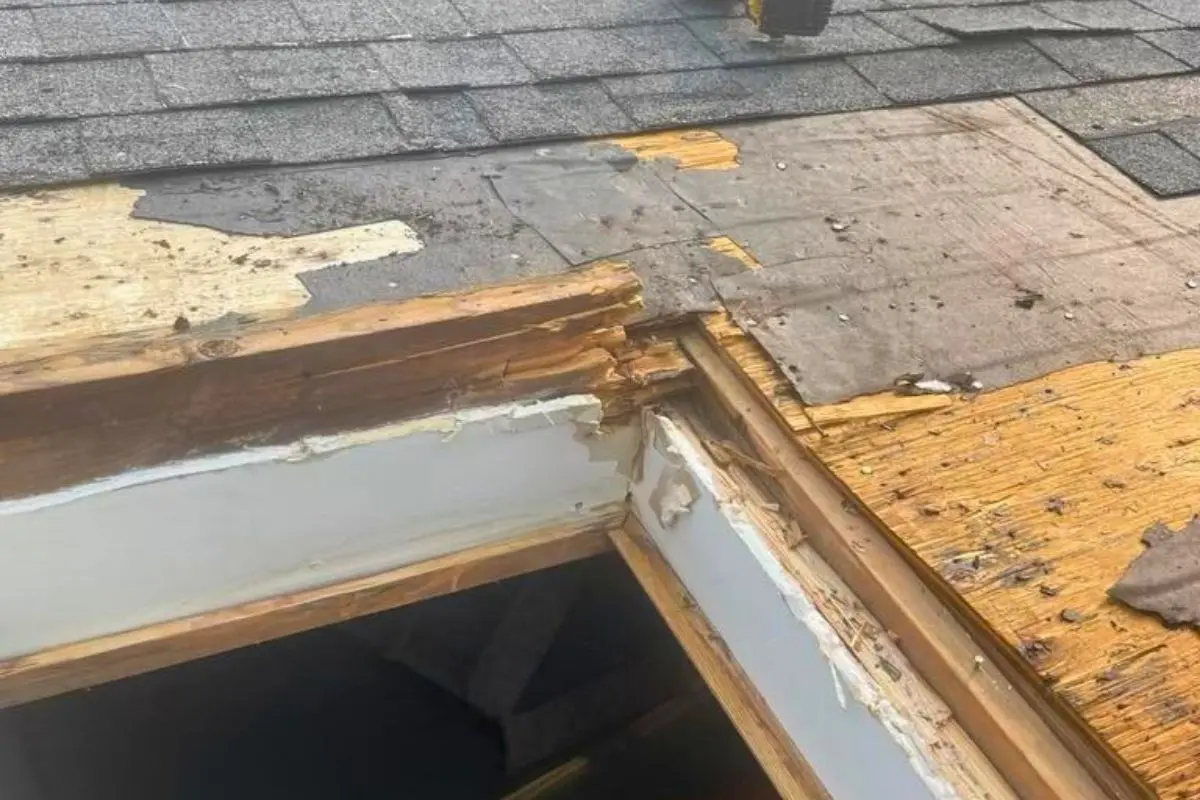
- Deck Rot and Degradation: The most common failure point of a skylight is its seal. Even a minor, slow leak allows moisture to penetrate the roofing layers and soak into the wooden deck. Over months and years, this constant moisture leads to wood rot. A rotted deck loses its structural capacity, can no longer hold roofing nails securely, and becomes a safety hazard. By the time a stain appears on your ceiling, significant structural decay may have already occurred above.


Hallmarks of a Professional, Long-Lasting Installation
A reputable contractor will treat a skylight installation with the seriousness of a major structural project. Their process should include the following non-negotiable elements.
- Curb-Mounting for Superior Water Management
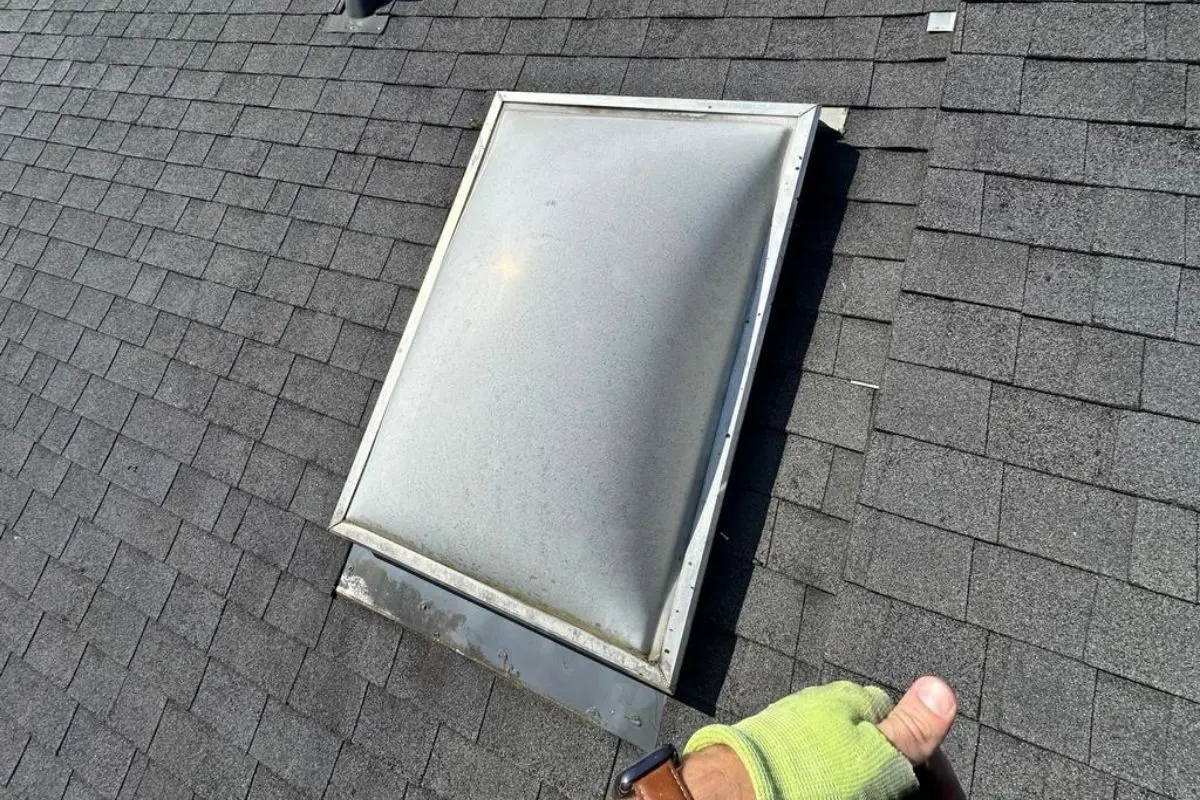
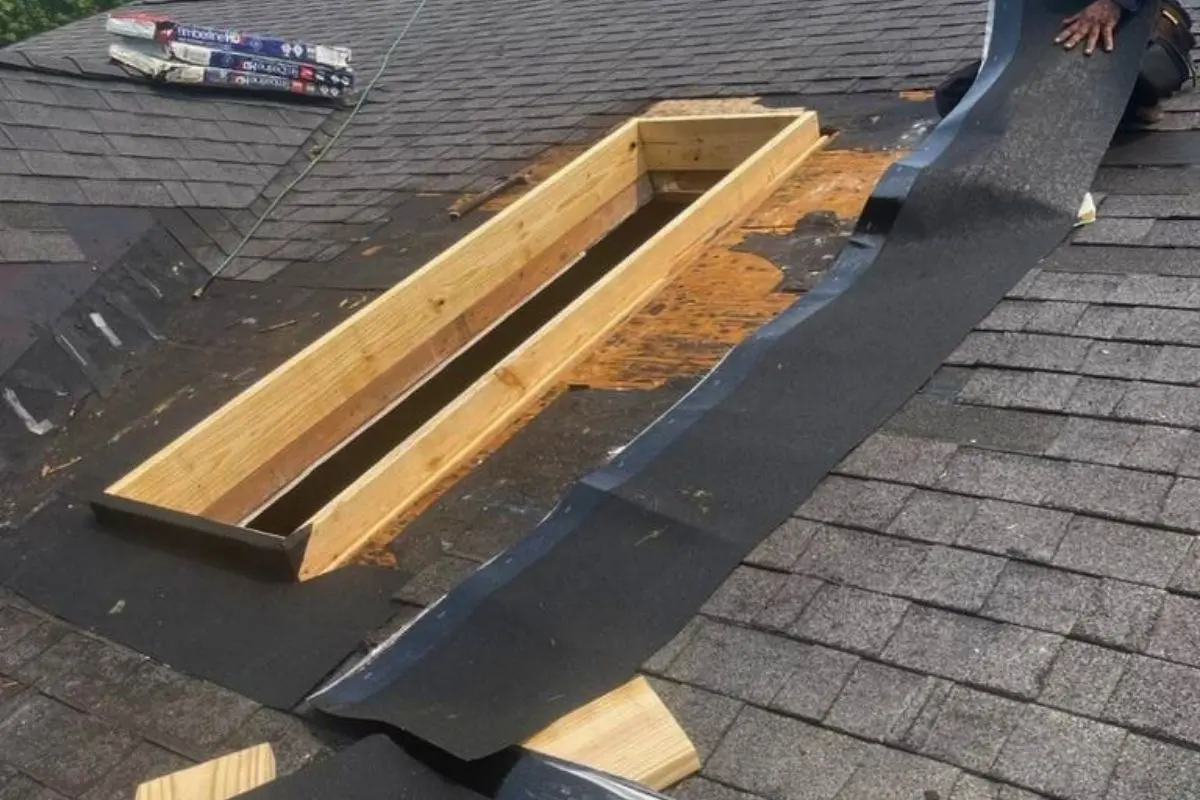
There are two primary types of skylights: deck-mounted (flush with the roof) and curb-mounted. For most sloped roof applications, curb-mounted skylights are the superior choice. A curb is a raised wooden frame that the skylight sits on, elevating its seams several inches above the roof’s surface. This simple elevation makes it significantly more difficult for water—especially wind-driven rain or water from melting snow—to breach the unit.
- Meticulous, Multi-Layered Flashing
Flashing is a system of metal components that directs water away from the skylight. This is the most critical element for preventing leaks.
- Use the Manufacturer’s Kit: A professional will always use the flashing kit engineered by the skylight manufacturer. These kits are designed for a perfect fit and to integrate seamlessly with the roofing. Avoid any contractor who suggests they can save you money by fabricating their own flashing on-site.
- Install an Ice & Water Shield: Before any metal flashing is installed, a self-adhering, rubberized asphalt membrane should be applied directly to the roof deck and up the sides of the curb. This acts as a final, emergency waterproof barrier.
- Follow the Sequence: Flashing is installed in layers from bottom to top: the sill flashing at the base, step flashing woven into each course of shingles along the sides, and saddle flashing at the top. This layering ensures that water always flows down and over the next piece, never inward.

Key Questions to Ask Your Contractor
To ensure a quality installation, ask your potential contractor these questions. Their ability to answer them confidently and in detail is a strong indicator of their expertise.
- How will you reinforce the framing after cutting the rafters?
- Will you be using the official manufacturer’s flashing kit designed for this skylight?
- Is an ice and water shield part of your standard installation process for skylights?
- For my roof’s pitch and our local climate, do you recommend a curb-mounted or deck-mounted unit, and what is your reasoning?
By understanding the structural implications and demanding best practices, you can confidently move forward with your project, ensuring your new skylight is a lasting investment that brings years of enjoyment.
