Roof Valleys and Their Installation Process
A roof valley is where two sections of the roof come together to form a V-shaped channel, and it’s super important. It helps direct rainwater, snowmelt, and debris away from the roof, making sure water doesn’t pool or cause leaks.
You’ll find roof valleys on gable roofs, hip roofs, or more complex designs. Roofers use special tricks and materials to install valleys that work well and last long. Installing a roof valley requires attention to detail to ensure a watertight seal and a sturdy roof.
In this post, we’ll guide you through the installation steps, share best practices, and explain why this is crucial for your roofing project.
What’s a Roof Valley?

A roof valley is basically where two sloping sections of your roof meet and form a channel. It’s super important for managing water on roofs with complex designs. Think of it as the framework that supports these intersecting areas, letting them meet at an angle.
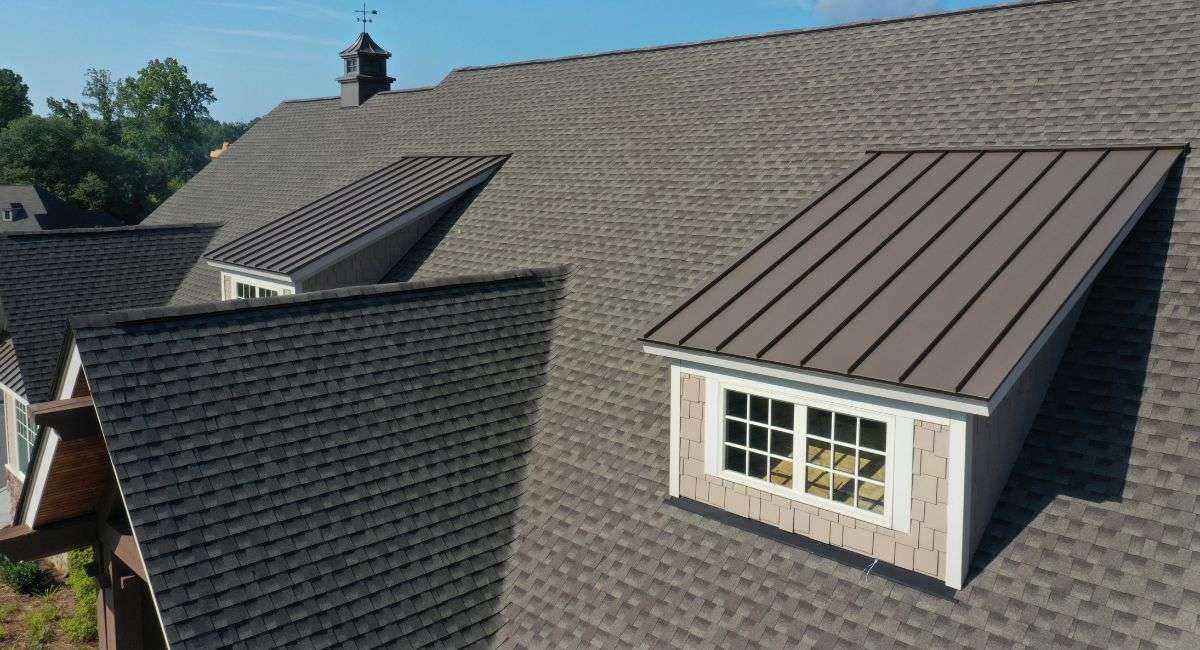
You’ll often find roof valleys in gable roofs, hip roofs, and any other fancy roof designs where different slopes come together. The precise design of these valleys makes sure water and debris are efficiently directed away from the roofing decking.
There are many different types of roof valley setups but the most common are made from:
- Metal Valleys: These are made from galvanized steel, copper or aluminum. They’re durable and can handle heavy rainfalls.
- Woven Valleys: This is where shingles are weaved together to create a valley. It’s more affordable but not as strong as metal valleys.
- Closed Cut Valleys: This type of valley has shingles overlapping each other covering the entire valley area.
Why Are They So Important?
Roof valleys are key parts of your roof, making sure rain, melting snow, and debris move smoothly into gutters or downspouts. You’ll find these valleys where two roof slopes meet, creating a perfect channel to direct water away. If they aren’t designed and installed right, you could end up with pooled water, leaks, rot, and expensive repairs later on.
In colder areas, good roof valleys are even more important because they help prevent ice dams. Ice dams form when melting snow refreezes at the edge of your roof, blocking drainage and letting water sneak under your shingles. That water intrusion is extremely risky for your home.
But roof valleys aren’t just about function—they also add a nice touch to your home’s curb appeal. They bring visual interest and detail to your roof, boosting the overall look of your house. This can really help if you’re looking to increase your property value or make your home stand out in the neighborhood.
Roof valleys do more than just serve a purpose; they help keep your home looking neat. A messy or missing valley can really stick out like a sore thumb. It not only takes away from your home’s curb appeal but can also be a risk to its overall condition.
Biggest Issues with Roof Valleys?

Improper installation is a major issue.
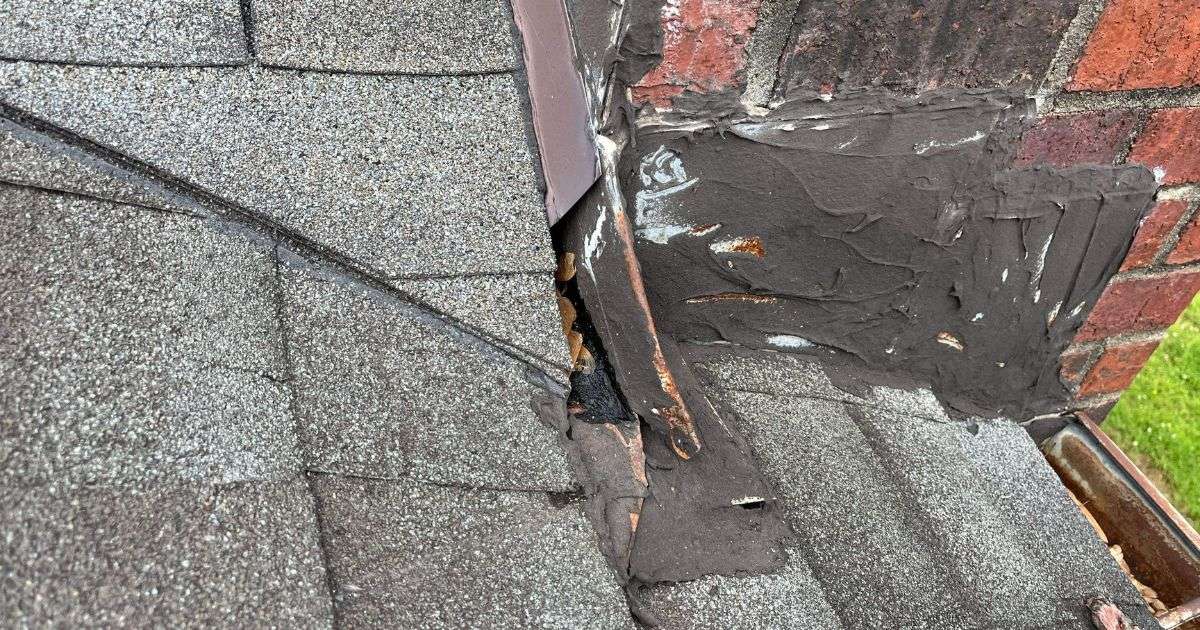
If not done right, valleys can become weak spots in the roofing system, failing to channel water effectively. This can cause leaks, water damage, and structural issues that mess with the building’s integrity. So, making sure valleys are installed correctly is a must for long-term durability and performance.
Clogging is another common problem.
Leaves, twigs, and pine needles can pile up in the valley, blocking the flow of water. Over time, this can cause water to back up and seep into the roof’s structure or damage the asphalt roofing. Regular maintenance, like clearing debris from roof valleys, is crucial to avoid expensive roof repairs or a full roof replacement. Inspections can spot potential issues early, ensuring your roof valleys function effectively.
The valley was damaged in a storm.
Roof valleys can really take a beating during bad weather like strong winds, heavy rain, or hailstorms. Debris often gets blown into the valley, which might damage the materials and cause leaks. Sometimes, high winds even lift shingles right off the roof, leaving the valley exposed and upping the risk of water getting in.
That’s why it’s a good idea to check out your roof valleys after a storm. If there’s any storm damage, it might be covered by your homeowner’s insurance. Since your roof valley plays a key role in protecting the ridges of your roof slope, it’s important to fix them quickly!
Roof Valley Installation Process
Now that we understand the importance of proper installation for roof valleys let’s take a look at the step-by-step process:
Step One: Setup and Centerline
First things first, roofers need to figure out where the roof valley will go based on the roof’s design. Once they’ve got the spot, they mark a centerline from the ridge down to the eaves. This line is key for making sure everything lines up right and water flows smoothly.
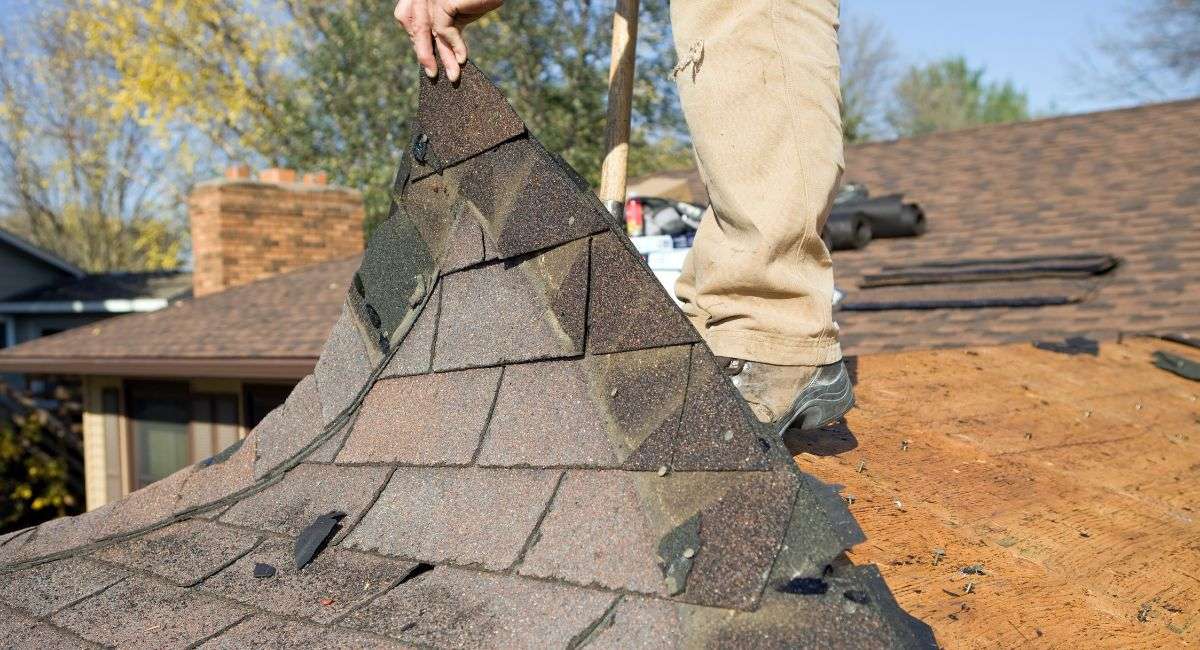
Step Two: Removing Old Material
Next up, the roofers clean out any old roofing materials or debris from the valley area. Cleaning the surface is essential for a proper fit and to prevent leaks. Depending on the type of roof, this step is also where you would check the underlying membrane or decking for issues. This is where you find the most common roofing issues and tackle them before you move on.

Step Three: Add Membrane and Flashing

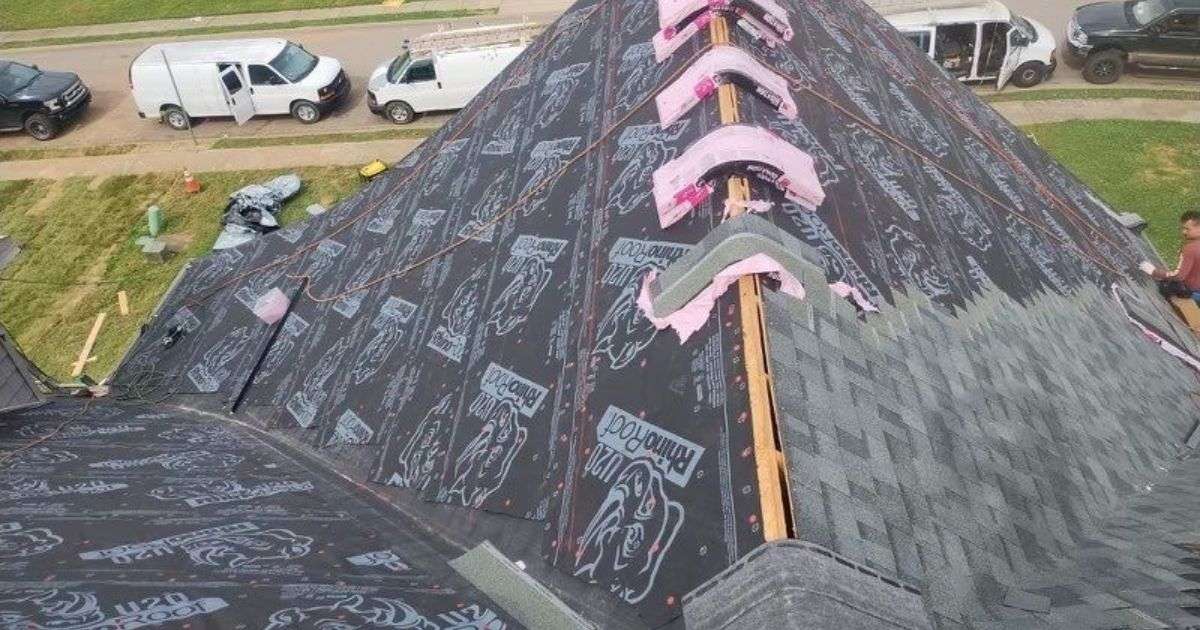
The type of valley material can vary, depending on the roof and what the roofing contractor prefers. Options include metal flashing from galvanized steel, aluminum, or copper, and specialized underlayment membranes like ice and water shield. Membranes are popular in rainy areas because they offer extra leak protection.
Step Four: Add Valley Materials
Once they’ve picked the valley material, roofers cut and shape it to fit just right. They line it up perfectly with the centerline and overlap it with the nearby roofing materials. Getting this alignment spot-on is crucial to keep water flowing properly and stop leaks.
Step Five: Secure the Valley
To secure the valley material, roofers use nails, screws, or roofing adhesive, depending on the material and roof design. They make sure it’s all tight and gap-free to keep it effective. This step is all about making sure the valley does its job in diverting water away.
Step Six: Add Roofing Shingles & Sealers
Lastly, roofers add asphalt shingles or roofing cement over the valley area to enhance the seal. They ensure everything overlaps nicely and is sealed to prevent water, helping the roof last longer.
Notice an Issue with Your Roof Valley? A Good Roofer Can Help!
Roof valleys are crucial for managing water on your roof. Proper installation with quality materials ensures a cost effective solution for keeping water at bay. If you notice leaks or have other concerns, call Roof MD for a thorough roof inspection. Our expertise can tackle any issues and keep your roof in great shape for years.
